Doucemont
About
Residence
Pricing
Photos
Contact
Online reservation
Français
Nederlands
English
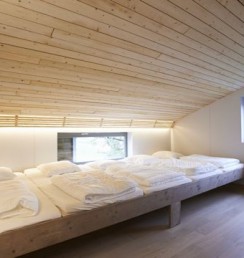
Photo 16
Leave a Reply
You must be
logged in
to post a comment.
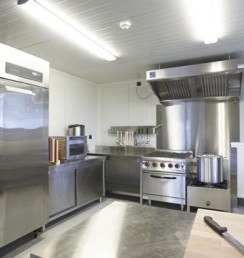
Photo 24
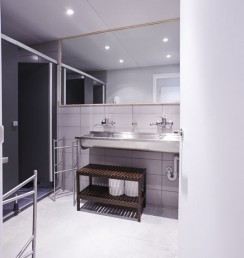
Photo 13
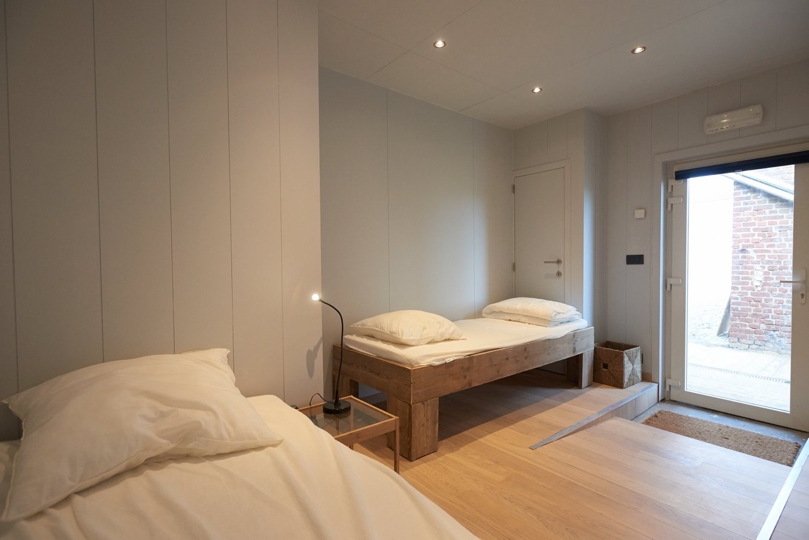
Photo 17
Photo 33
Leave a Reply
You must be logged in to post a comment.