Doucemont
A propos
Séjour
Tarifs
Photos
Contact
Réservation en ligne
Français
Nederlands
English
Photo 3
Laisser un commentaire
Vous devez
être connecté
pour rédiger un commentaire.
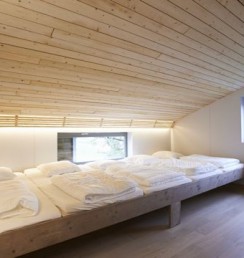
Photo 24
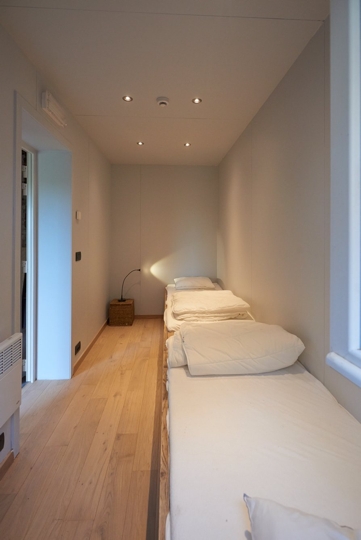
Photo 34
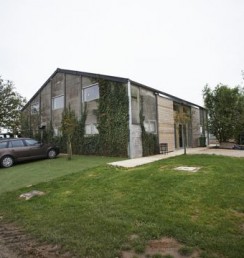
Photo 14
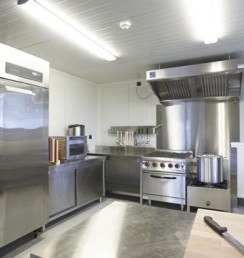
Photo 13
Laisser un commentaire
Vous devez être connecté pour rédiger un commentaire.